
I was recently streaming the Stanley Cup Finals and waiting for a new Apple commercial to air during the first period.
Looking for a solution to record the TV ad, as it was not up on YouTube yet, I discovered a simple feature built right into QuickTime for recording your screen on Mac. Forget using third-party software or other cumbersome tools for recording your screen, and read ahead for step-by-step instructions on how to record your screen on Mac using QuickTime…How to record the screen on Mac
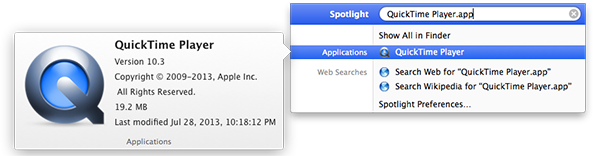
Step 1: Open QuickTime.
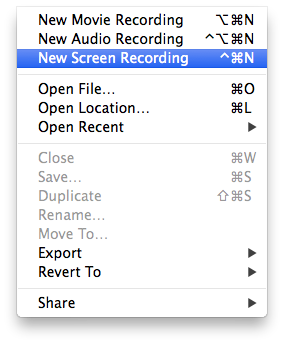
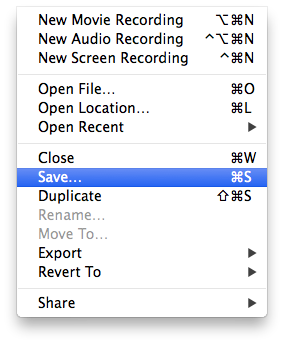
Step 2: Click on File > New Screen Recording (^⌘N).
Step 3: Click on the red circular record button.
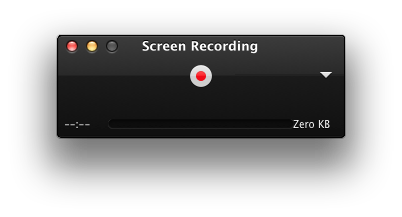
Step 4: Click to record the whole screen, or drag to record a specific area.
Step 5: Click-hold on QuickTime in the Dock and click Stop Screen Recording.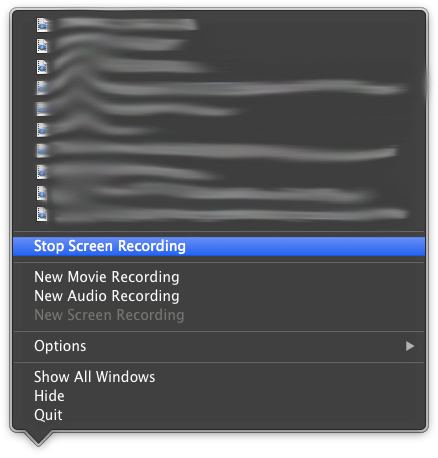
Step 6: Click on File and Save to save the recording as a MOV file.
If you are looking to record your iPhone screen instead, Apple has introduced a new feature in OS X Yosemite that lets you record an iOS 8 device with a Lightning cable in very similar fashion to this. There are also similar options available via AirPlay Mirroring and if you have a jailbroken device.
This how to is part of a series of quick tips here at iDownloadBlog. If this article helped you learn a new feature, we appreciate letting us know. If you have a how to idea you would like to see, feel free to share it in the comments section below. If we follow up with an article, we’ll give you credit.


0 comments :
Post a Comment